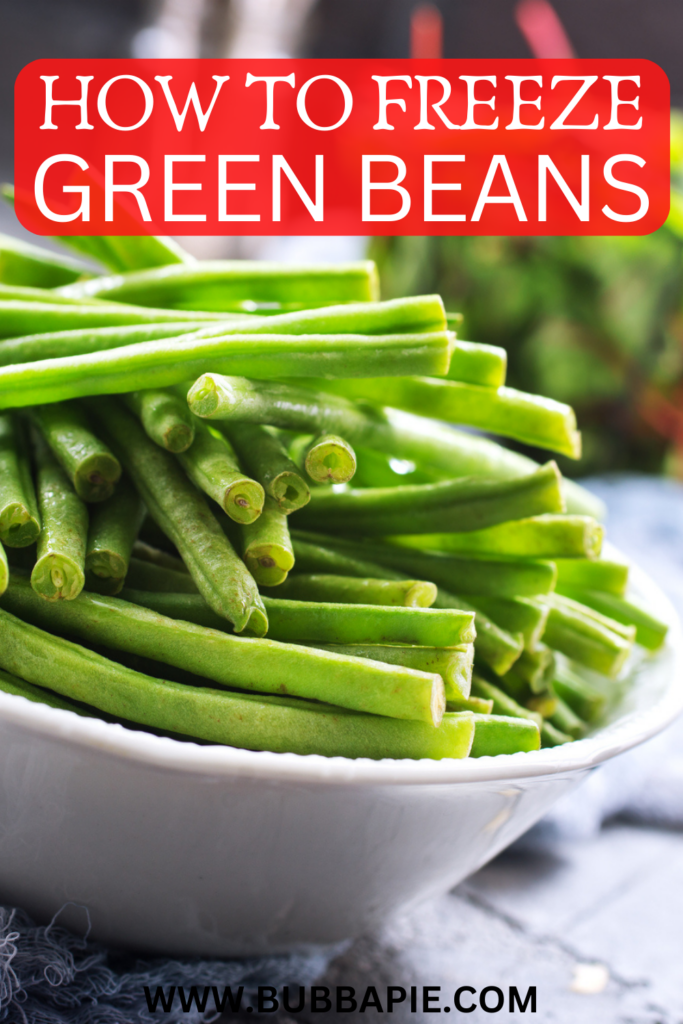
Our easy, step-by-step guide on how to freeze green beans! Keep this healthy, versatile vegetable fresh all year long!
Preserving the Harvest: A Guide to Freezing Green Beans
I think green beans are my favorite vegetable! They are so versatile! They are great all on their own as a healthy side dish or to put into a soup or casserole!
As the warm days of summer fade and the bounty of your garden or local farmers’ market flourishes, it’s the perfect time to consider preserving the vibrant flavors and nutrition of fresh green beans. Freezing is a simple and effective method to lock in the peak freshness of green beans, allowing you to enjoy their crisp texture and wholesome taste throughout the year. In this guide, we’ll walk you through the step-by-step process of freezing green beans, ensuring that your efforts result in delicious, ready-to-use ingredients for your future culinary adventures.
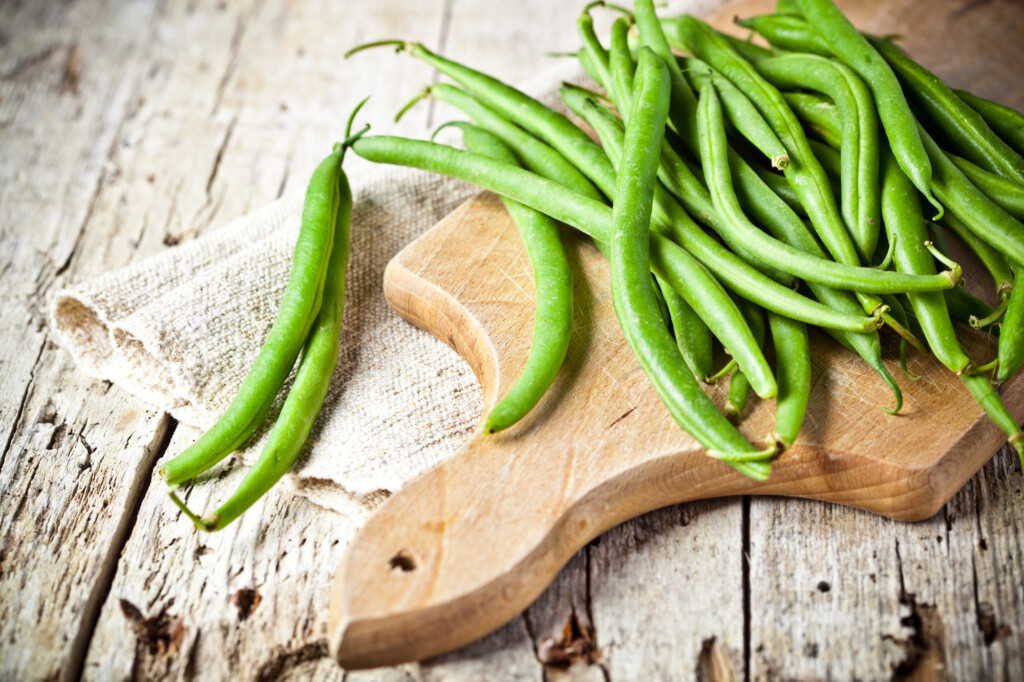
Selecting the Right Beans
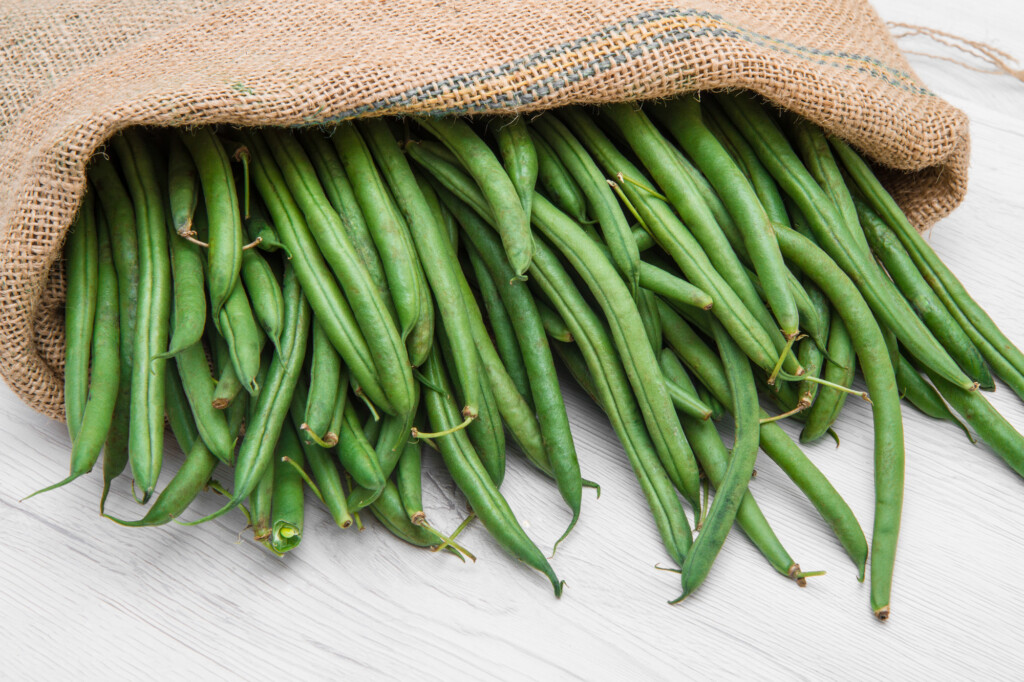
Begin your journey to frozen green bean perfection by selecting high-quality beans. Choose beans that are young, tender, and free from blemishes. Look for vibrant green color and firm texture; these qualities are indicators of optimal freshness. If you’re harvesting from your own garden or purchasing from a local market, ensure that the beans are at their peak ripeness for the best results.
Preparation and Cleaning
Before freezing, it’s essential to properly clean and prepare the green beans. Follow these steps:
- Wash the beans under cold running water to remove dirt and debris. Gently rub the surface with your fingers to ensure thorough cleaning.
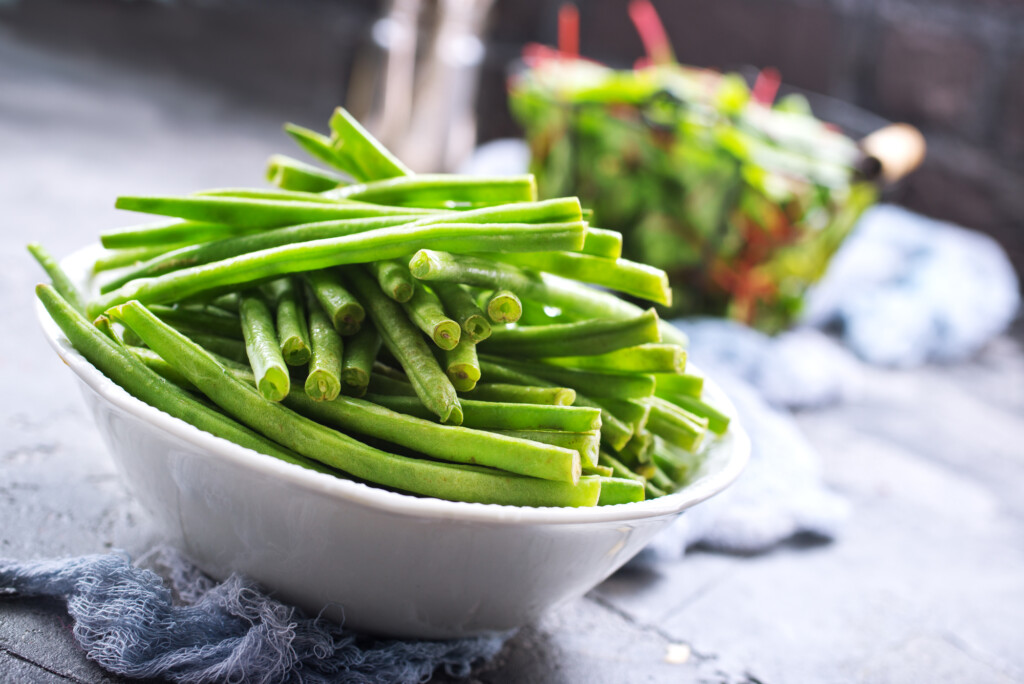
- Trim the ends of the beans using a sharp knife or simply snap them off by hand. Remove any stringy portions from the sides if your beans have them.
- Decide whether you prefer whole beans or if you’d like to cut them into smaller pieces. If cutting, aim for uniform-sized pieces to ensure even cooking later.
Blanching – The Key to Retaining Freshness
Blanching is a crucial step in the freezing process as it helps to preserve the color, flavor, and texture of the green beans. Follow these blanching steps:
- Bring a large pot of water to a vigorous boil. For every gallon of boiling water, add about ½ cup of salt. This helps to maintain the vibrant green color of the beans.
- While the water is heating, prepare a large bowl of ice water (also called an ice bath). This will be used to quickly cool the blanched beans and stop the cooking process.
- Once the water is boiling, carefully lower the trimmed and cleaned beans into the pot. Allow them to blanch for about 2-3 minutes, ensuring they remain crisp-tender.
- Using a slotted spoon or tongs, promptly transfer the blanched beans into the bowl of ice water. This shock of cold water halts the cooking process and sets the color and texture.
- Let the beans cool in the ice water for the same amount of time they were blanched, typically 2-3 minutes. Once cooled, drain them thoroughly.
Packaging for Freezing
Proper packaging is essential to prevent freezer burn and maintain the quality of the beans. Here’s how to do it:
- Divide the blanched and drained beans into portion sizes that suit your needs. Consider how much you’ll typically use in a single cooking session.
- Place the beans in airtight freezer-safe containers or resealable plastic freezer bags. If using bags, remove as much air as possible before sealing. Alternatively, vacuum-sealing can be highly effective in preventing freezer burn.
- Label the containers or bags with the date of freezing. This will help you keep track of their freshness and rotation in the freezer.
Into the Freezer
With the beans properly packaged, it’s time to place them in the freezer:
- Arrange the sealed containers or bags in a single layer on a baking sheet or flat surface. This initial freeze prevents the beans from sticking together.
- Once the beans are individually frozen, you can stack the containers or bags more efficiently in the freezer.
Enjoying Your Frozen Green Beans
When the time comes to use your frozen green beans, simply follow these steps:
- Remove the desired amount of beans from the freezer.
- There’s no need to thaw the beans before cooking. You can directly add them to soups, stews, stir-fries, or other dishes where they’ll cook quickly.
- If you prefer slightly crisper beans, blanch them again for about 1-2 minutes before using in your chosen recipe.
By following these simple steps, you can savor the taste of summer’s bounty all year round. Freezing green beans not only preserves their nutritional value but also ensures that you have a versatile ingredient ready to enhance your culinary creations. With a little time and effort, you’ll be rewarded with a freezer full of delicious green beans that are a testament to your commitment to enjoying nature’s harvest at its finest.
We’d love to know any other tips you’ve got for freezing green beans. Let us know in the comment section below! Happy Eating!
LOOKING FOR SOME GREEN BEAN RECIPES? CHECK OUT OUR:
- CROCKPOT GREEN BEAN CASSEROLE
- GARLIC BUTTER GREEN BEANS
- HAM, GREEN BEANS AND POTATOES
- OVEN ROASTED GREEN BEANS
- SPICY GREEN BEANS
- TATER TOT CASSEROLE WITH GREEN BEANS
- ARKANSAS GREEN BEANS
- BACON WRAPPED GREEN BEANS
Leave A Reply!